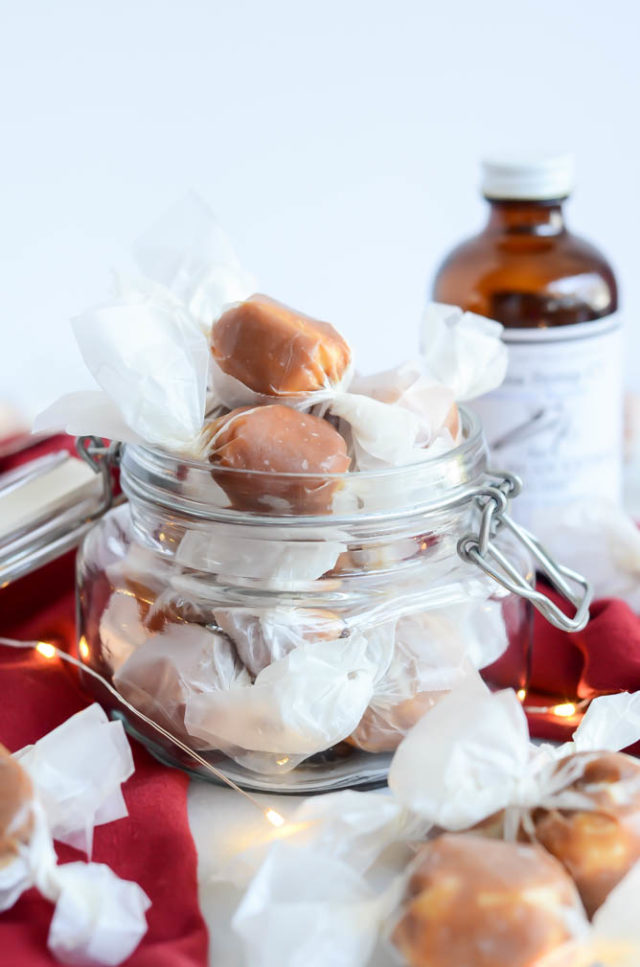
Vanilla-laced homemade marshmallows are covered in a soft yet chewy caramel to make the perfect sweet treat for the holidays and beyond!
This post is sponsored by Sonoma Syrup Co.
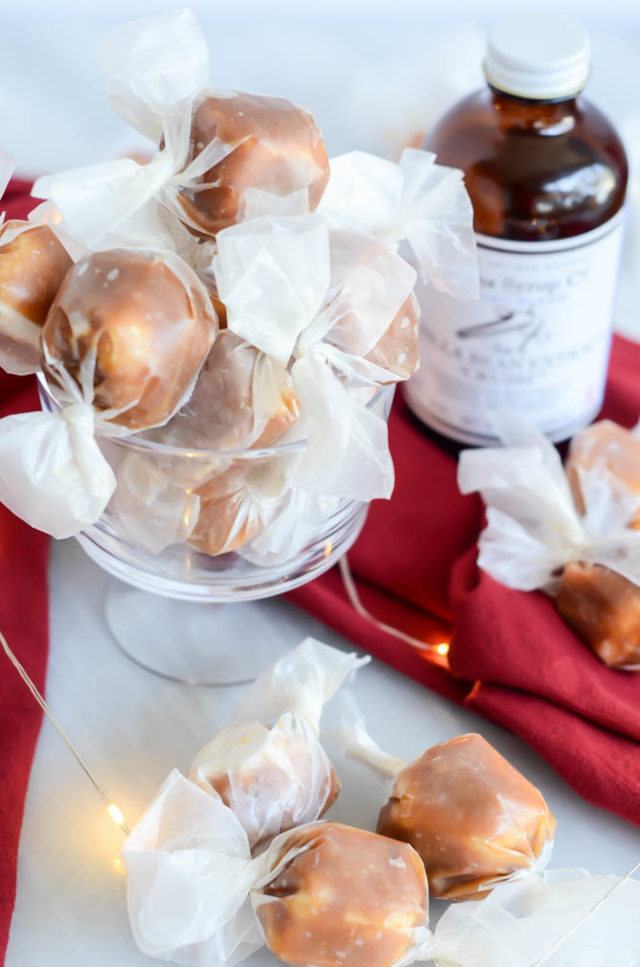
I can guarantee you won’t be able to eat just one. If you’re at all familiar with a certain popular candy store’s holiday offerings, these little nuggets of heaven I’ve dubbed “Homemade Caramel Covered Marshmallow Kisses” likely look like something you’ve seen before gracing their shelves before. If not, then prepare to be wowed by a delicious homemade holiday goodie that will put your standard cookie and fudge platters to shame. You’ve been warned.
I generally claim to have no preference between cooking and baking (yes, I’m one of those rare birds), but when the holidays roll around, all I want to do is bake up tasty treats and goodies. I’m a sucker for everything from cookies to coffee cakes, and would happily give up candy bars in exchange for baked goods any day of the week.
That’s why I’m so lucky to have partnered with Sonoma Syrup Co. this holiday season to create some super tasty treats using their syrups, extracts, etc. I kicked off the fall season with these Pomegranate Soda Ice Cream Floats, then took advantage of my pumpkin obsession by whipping up this Pumpkin Spice Coffee Cake with Amaretti Crumble. For the month of December, I wanted to showcase their super-fragrant and fresh Pure Vanilla Bean Extract “Crush,” and what better way to do so than with some Homemade Caramel Covered Marshmallow Kisses?
To be honest, this was also somewhat of a self-challenge on my part. You see, homemade marshmallows (and heck, even homemade caramel) have been on my list of “Things That Intimidate Me” for quite some time now. But heck, that’s one of the reasons I started this blog, to not only challenge myself with new projects in the kitchen but also encourage you, my dear readers, to challenge YOURSELVES with cooking adventures that may have previously been holding you back.
Sure, homemade marshmallows require some special ingredients like silver gelatin sheets and acetate (thank goodness for Amazon Prime!) and a careful eye on the stovetop, but when you break things down they’re really not that complicated…and so much tastier than the store-bought stuff! And who better to turn to than the man Thomas Keller for guidance? I referred to his Bouchon Bakery marshmallow recipe for this first little foray into the ‘mallow world, and as usual was thankful for his overly detailed instructions and step-by-step guide.
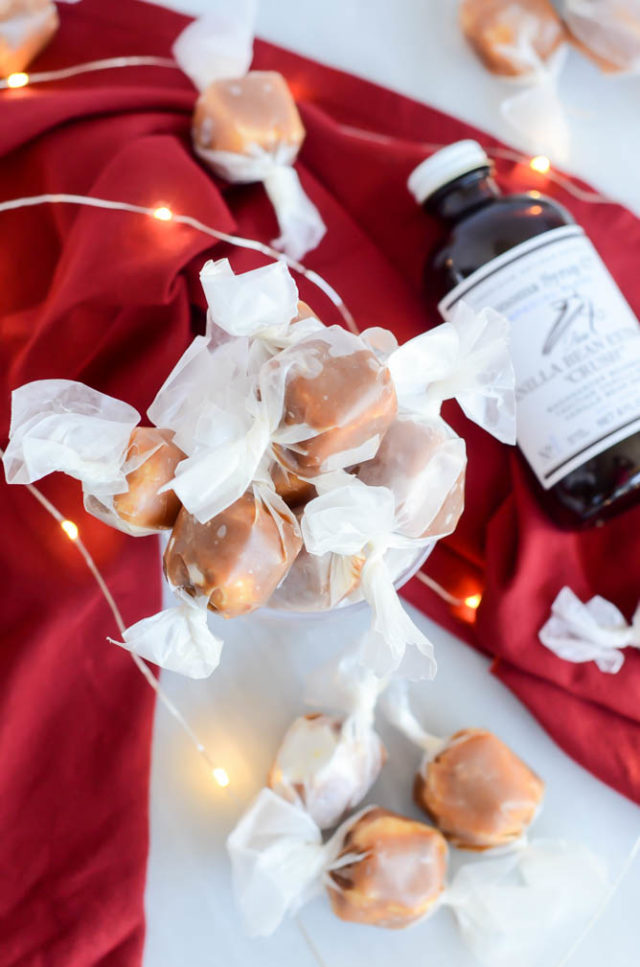
To give the marshmallows an extra-special hit of flavor, I turned to the aforementioned Sonoma Syrup Co. Pure Vanilla Bean Extract “Crush”. I tell ya, it’s amazing what just a little dash of this stuff brings to the table when dressing up a holiday goodie! I’m not even exaggerating when I say you can easily tell that they use only the highest quality Madagascar and Tahitian vanilla as the ingredients. It puts any other mass-produced vanilla extract to shame!
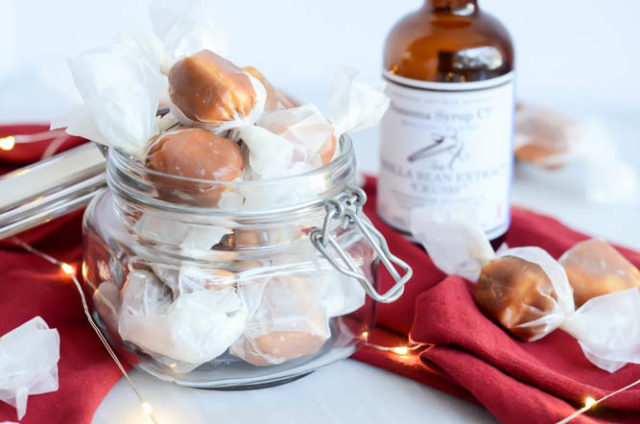
So, after we have the marshmallows made and chilled (carefully following the instructions – I promise it’s not too hard!) we make our super-simple caramel coating. And when I say super simple, I mean super simple – we’re talking just two ingredients and a saucepan away from having a huge batch of Homemade Caramel Covered Marshmallow Kisses ready for all your holiday gift-giving needs. Simply melt together some store-bought caramels with a little bit of heavy cream, let it cool slightly, and you’re ready to dip!
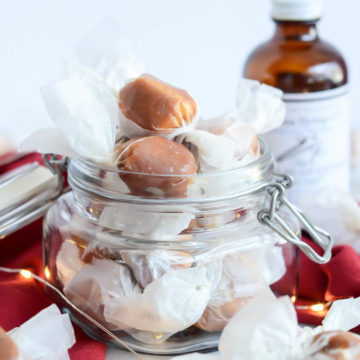
It’s important that you start with the marshmallows frozen so that they don’t melt into a gloppy puddle as soon as you dip them into the warm caramel. It’s equally as important to use parchment paper rather than wax paper when letting your caramel-dipped marshmallows set in the refrigerator and for wrapping them once they are ready to go (I learned this the hard way!)
I know this may all sound intimidating and time-consuming, but I promise, promise, PROMISE these Homemade Caramel Covered Marshmallow Kisses are well worth the little extra TLC they require. I also pinky promise that throwing a handful of these on any cookie or treat platter you happen to be bringing over to a friend or neighbor this season will be very well-received. Don’t be surprised if you leave them asking for more!
You can find the recipe below, and head on over to Sonoma Syrup Co. to order their Pure Vanilla Bean Extract “Crush” ASAP for all of your holiday baking needs!
This post contains affiliate links.
Homemade Caramel Covered Marshmallow Kisses
Ingredients
For the vanilla marshmallows*:
- 1/2 cup powdered sugar
- 1/2 cup cornstarch
- 4 sheets Silver Leaf gelatin
- 3 egg whites
- 1 tablespoon Sonoma Syrup Co. Pure Vanilla Bean Extract "Crush" (or other vanilla extract)
- 1 cup plus 2 tablespoons sugar
- 1/2 cup water
- 2 1/2 tablespoons light corn syrup
Special equipment for marshmallows:
- 8 inch square baking dish
- 8 inch square piece of acetate
- Candy thermometer
For the caramel coating:
- 22 ounces individually packaged caramels
- 1/4 cup heavy cream
Instructions
- First, make the marshmallows. Combine the powdered sugar and cornstarch together in a small bowl.
- Line 8-inch square baking pan with plastic wrap and sprinkle the wrap generously with the powdered sugar and cornstarch mixture. Set the rest of the powdered sugar mixture aside.
- Place the gelatin in an ice bath to soften.
- Spray one side of the acetate with nonstick cooking spray, set aside (sprayed side up.)
- Prepare a bain marie by placing a metal mixing bowl over a saucepan filled with just two inches of water over medium high heat.
- Remove the gelatin from the ice bath and squeeze dry, place in prepared bain marie. Cook until the gelatin is melted, the reduce heat and keep warm.
- Place egg whites in the bowl of a stand mixer fitted with the whisk attachment.
- Combine sugar, water, corn syrup and vanilla extract in a large saucepan and bring to a simmer over medium-high heat. Stir to dissolve the sugar and then simmer an additional 5 minutes or so, or until the temperature reaches 250 degrees Fahrenheit.
- Let the syrup continue to cook and turn the stand mixer on medium speed to start whipping the egg whites. The goal is for the egg whites to be forming medium peaks around the same time the syrup in the saucepan reaches 281-284 degrees Fahrenheit. Once the syrup reaches this temperature, remove it from the heat. If your egg whites start forming medium peaks before the syrup is done, lower the speed on the mixer slightly.
- Add the syrup to the egg whites by slowly pouring it down the side as you have the mixer on low.
- Pour in the prepared gelatin and increase the mixer speed to medium-high, about 5 minutes, or until mixture is thickened and glossy, warm but not hot.
- Spray a spatula with nonstick cooking spray and use it to spread the marshmallow mixture into the prepared baking pan that has been lined with plastic wrap.
- Top the spread out mixture with the prepared piece of acetate, sprayed side down, and gently press it down.
- Let mixture stand at room temperature for a few hours to set.
- Once mixture is cooled and set, remove the acetate and coat the top with the reserved powdered sugar mixture as necessary.
- Spray a chef’s knife with nonstick cooking spray and cut the marshmallows into squares, cleaning and re-spraying the knife between each cut.
- Coat the marshmallows with more of the powdered sugar mixture as needed so they are not too sticky.
- Place marshmallows on a cookie sheet or two lined with parchment paper and freeze for at least one hour before dipping in caramel.
- Once marshmallows are sufficiently frozen (this will help ensure they don’t melt into nothing as soon as you dip them in the caramel), start preparing the caramel.
- Remove the wrappers from the caramels and add them to a small saucepan with the heavy cream over medium heat. Stir occasionally as the caramels melt.
- Once the caramels and heavy cream have melted together and combined to form a creamy caramel, turn off the heat. Using two forks (or spoons, or a combo of both) dunk the marshmallows in so they are sufficiently coated. Place dipped caramels back on parchment paper-lined cookie sheets and refrigerate until caramel is hardened even to remove the kisses from the parchment paper.
- Individually wrap the caramels in small pieces of parchment paper and keep refrigerated until ready to serve. (They can stand a short period of time at room temperature, but for longer periods be sure to keep them cool.)
Oh, I was bummed. All this effort to make homemade marshmallows just to dunk them in store-bought caramels.
🙁
Chad – sorry to disappoint! I’m all about balance and sometimes that means doing some parts from scratch and taking a bit of a shortcut for other parts. I can assure you that this version is still totally delicious, but if you want you can always make your own caramel!
Hi, if you use homemade caramel
Sauce, how long is the shelf life in the fridge for the covered marshmallows?
Thanks!
Hi Andrea – I recommend consuming the marshmallows within a couple of weeks for ultimate freshness, but they can stay “unspoiled” in the fridge for up to a couple of months. I hope this helps!