This from-scratch Vanilla Cake with Vanilla Buttercream is easy to make and full of the most delicious fresh vanilla flavor. It will quickly become a go-to in your household for any sort of celebration!

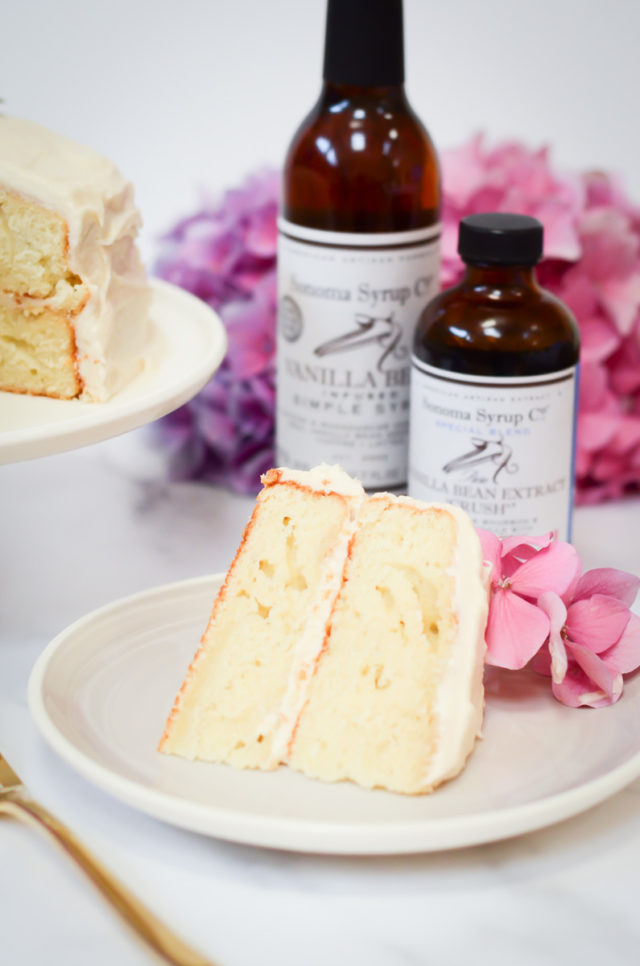
Looking for a go-to cake recipe for all of your upcoming special occasions? Look no further than this simple vanilla cake topped with creamy vanilla buttercream. It’s so easy to make, you’ll never think twice about using a boxed mix again. It’s also loaded with fresh vanilla flavor thanks to Sonoma Syrup Co.’s Vanilla Bean Extract “Crush” and Vanilla Bean-Infused Simple Syrup.
Once you master this basic vanilla cake recipe, try jazzing it up with any of my other vanilla-based desserts like this Fresh Strawberry Vanilla Bundt Cake with Lemon Glaze or these Lavender Vanilla Cupcakes with Blood Orange Glaze.
There’s certainly no shortage of good flavor when high-quality vanilla is involved!
Why This Recipe Works
- It has two different sources of vanilla which make the cake burst with flavor.
- There are no complicated steps, which makes the cake easy to put together – even for the most novice baker.
- The high-quality ingredients mean it doesn’t take much to put this thing together.
- The cake and frosting can be made up to a day in advance. You can also either assemble it in advance OR wait and assemble it right before serving.
- It’s easily customizable. Feel free to add fresh fruit or decorate your cake to fit whatever occasion you’re celebrating.
Ingredients You’ll Need
The simplicity of this recipe goes right down to the ingredients. By using high-quality vanilla extract and vanilla-infused simple syrup, there’s not much else you need to make such a showstopper of a cake recipe!
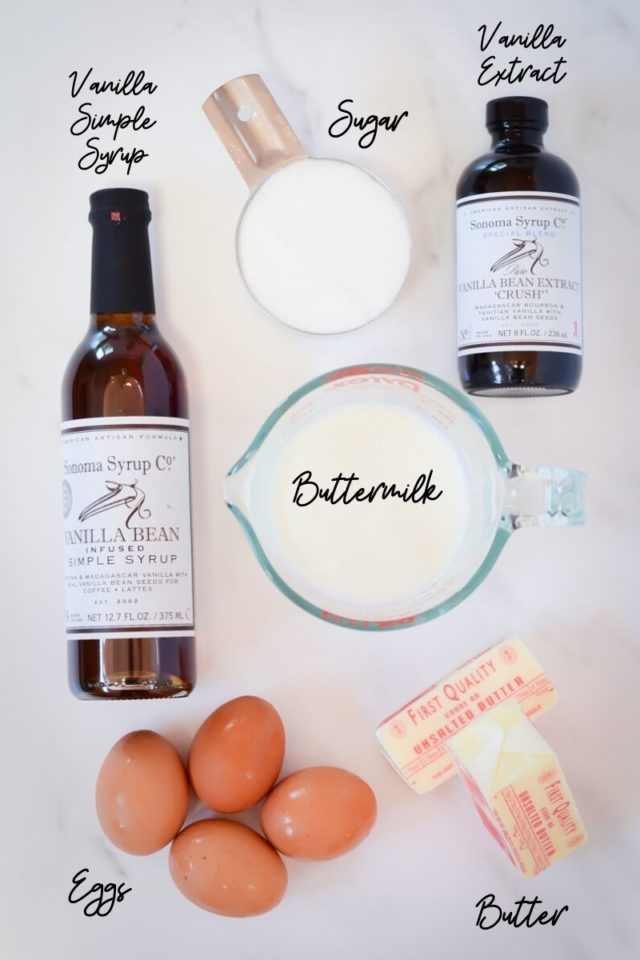
Vanilla Simple Syrup – This will be used as a final touch to your cake layers after baking and before frosting. You can find Sonoma Syrup Co.’s delicious Vanilla Bean-Infused Simply Syrup here.
Vanilla Extract – You’ll want to use the highest quality vanilla extract you can find. Bonus if it has actual vanilla beans in it like Sonoma Syrup Co.’s version!
Buttermilk – This will add the perfect touch of moistness and tang to your cake.
Eggs & Butter – Make sure both of these are at room temperature before you start mixing your cake batter.
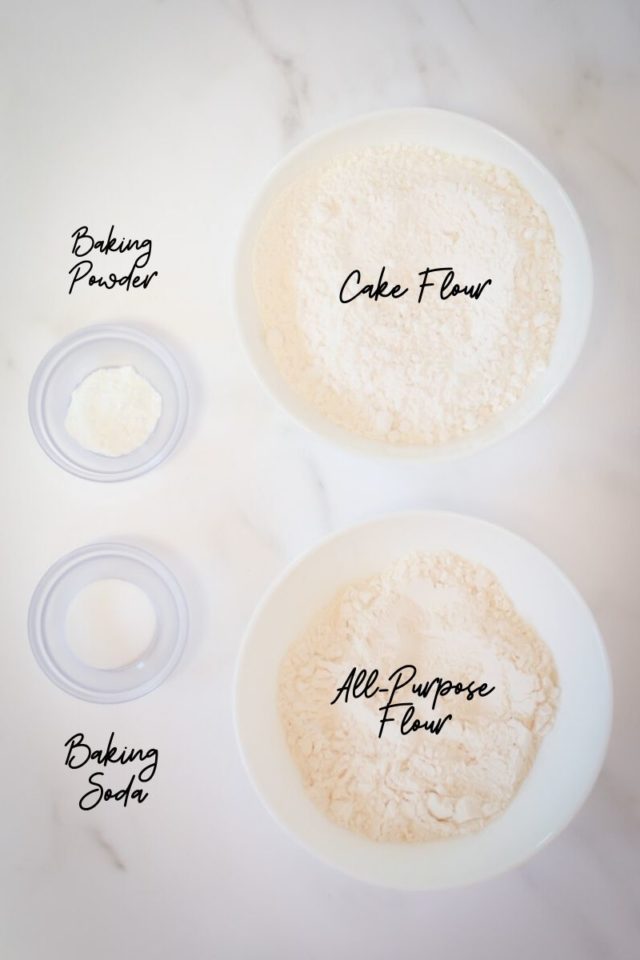
Cake Flour – This lower-protein flour keeps the cake light and fluffy. Find it at your local grocery store.
All-Purpose Flour – While the majority of the cake is made with cake flour, a little bit of all-purpose flour adds the perfect touch of density to the cake.
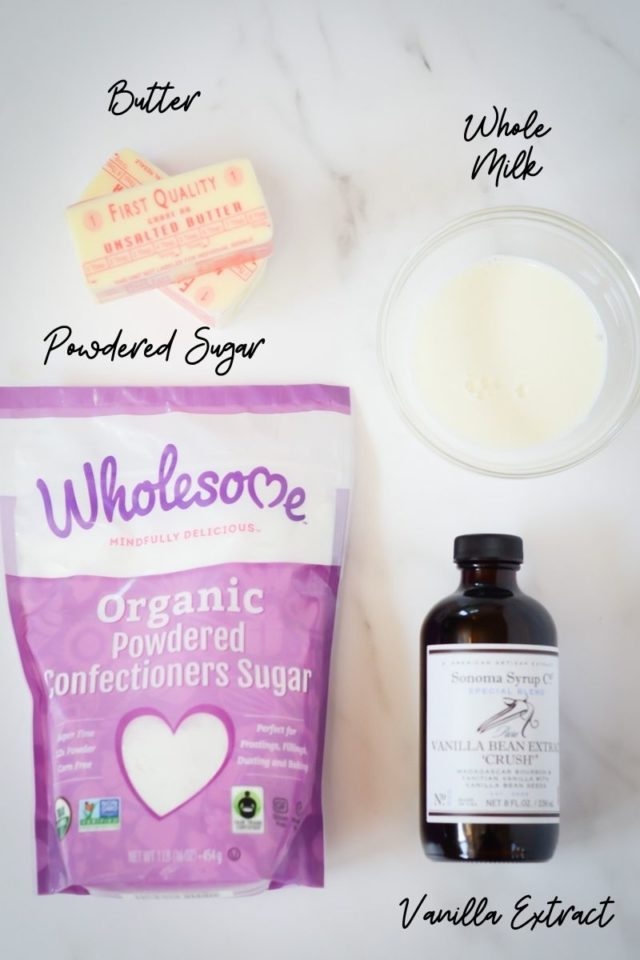
Butter – Just as with the cake, be sure your butter is at room temperature before making your frosting.
Whole Milk – This will add the perfect creaminess to your buttercream frosting.
Vanilla Extract – Once again, use the highest quality you can find to pack the biggest flavor punch.
Powdered Sugar – This adds the structure and sweetness to your frosting. For the smoothest texture, be sure to sift it before mixing.
Step-by-Step Instructions
While there are quite a few steps to making this recipe, they are all incredibly easy to follow. No tricky techniques to make a basic vanilla cake!
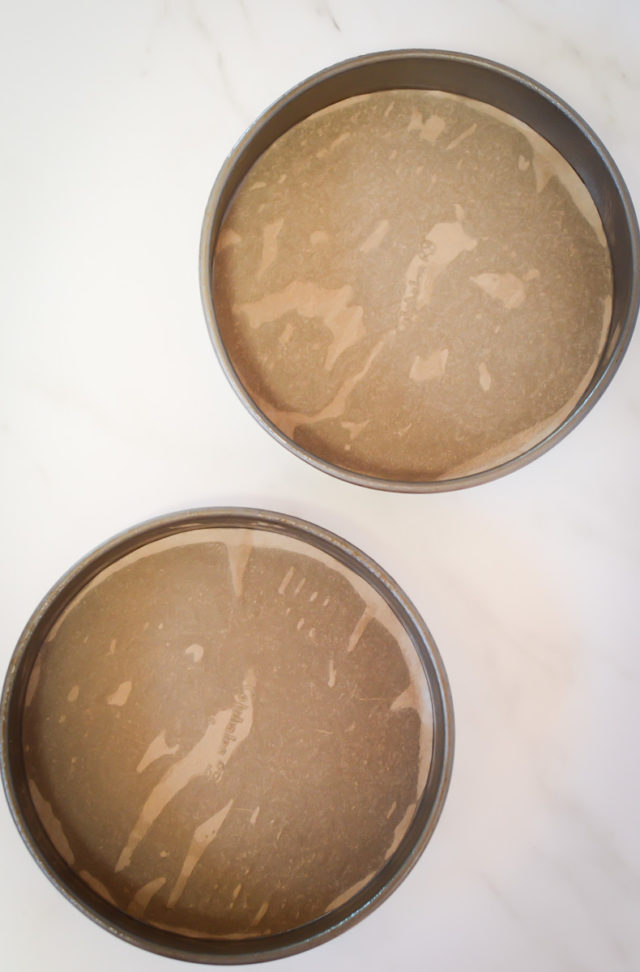
You’ll first want to preheat your oven and prepare your cake pans. Grease two 8-inch round pans and line the bottoms with parchment paper. Use a pencil and scissors to trace the outline of the pans on the parchment paper before cutting them out so they fit perfectly.

Next, cream together the butter and sugar, then beat in the eggs and vanilla extract.
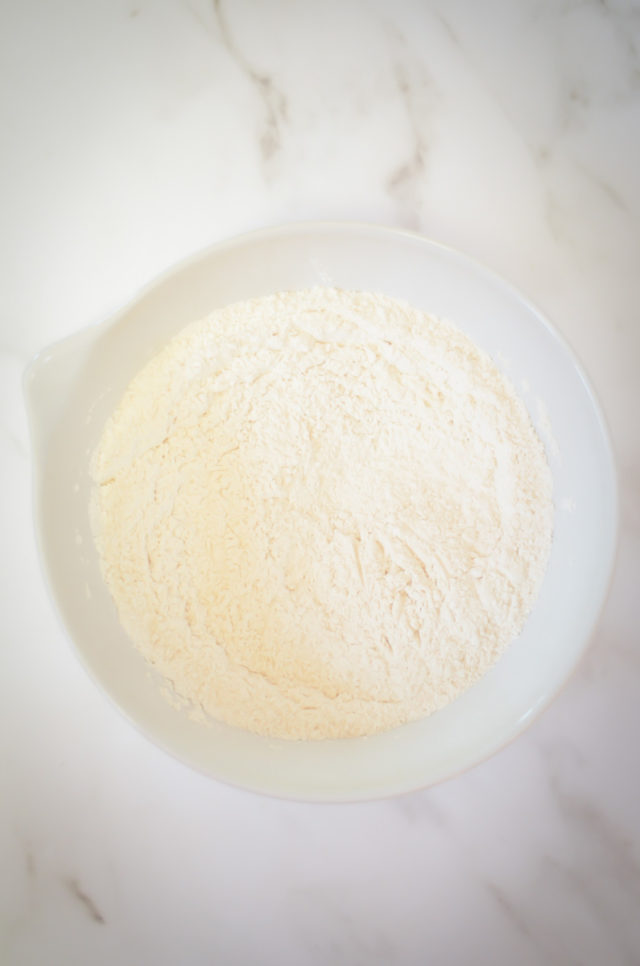
Then it’s time to whisk together the dry ingredients.
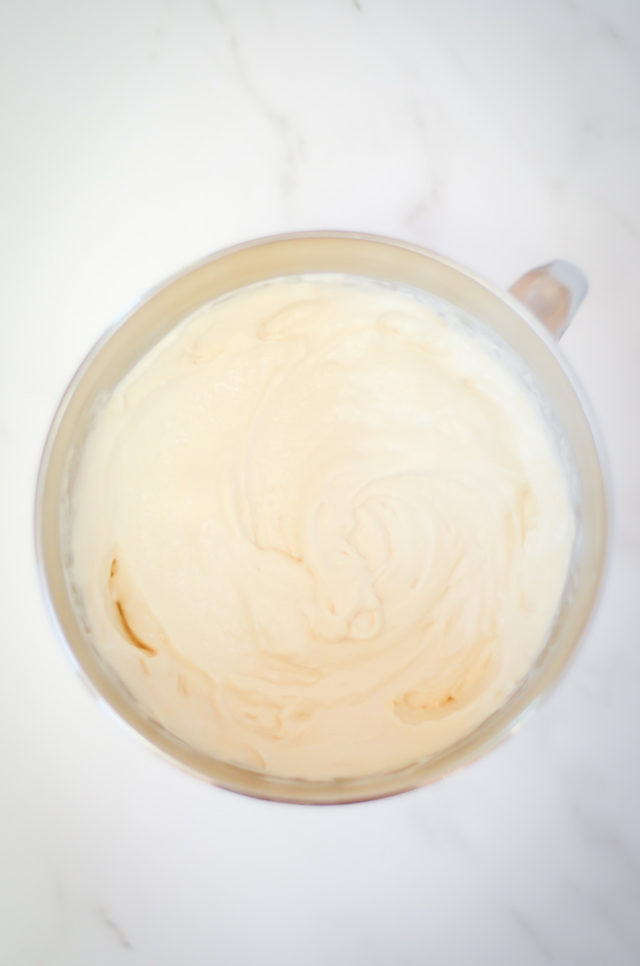
Finally, add the buttermilk and dry ingredients to the creamed butter and sugar mixture in two alternating phases – first add half of the dry ingredients, then add half of the buttermilk, and then repeat to finish making the batter.
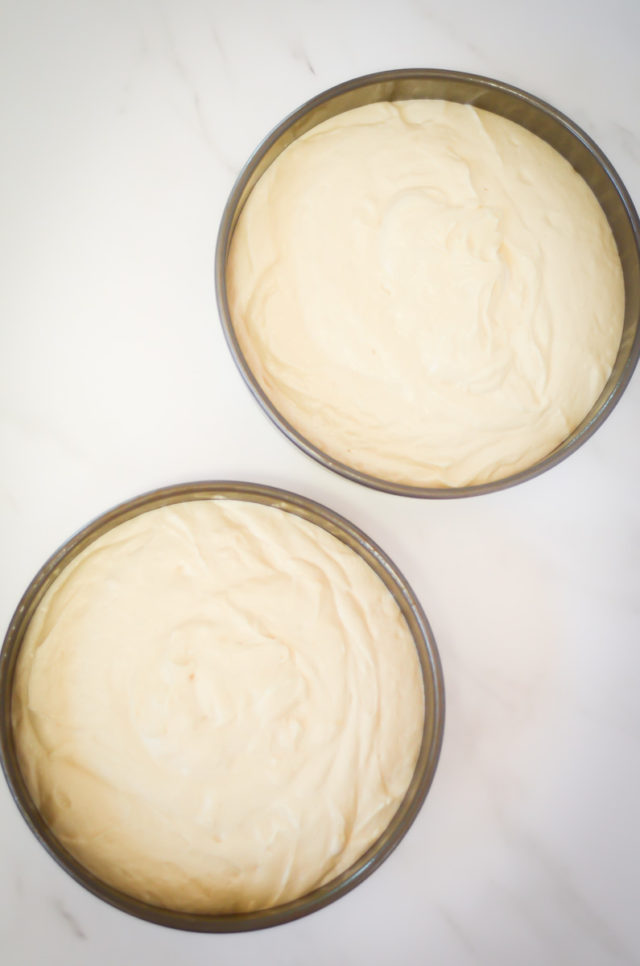
Divide the cake batter evenly into the two prepared cake pans and bake for 28-30 minutes, or until a tester inserted in the center of each pan comes out clean.
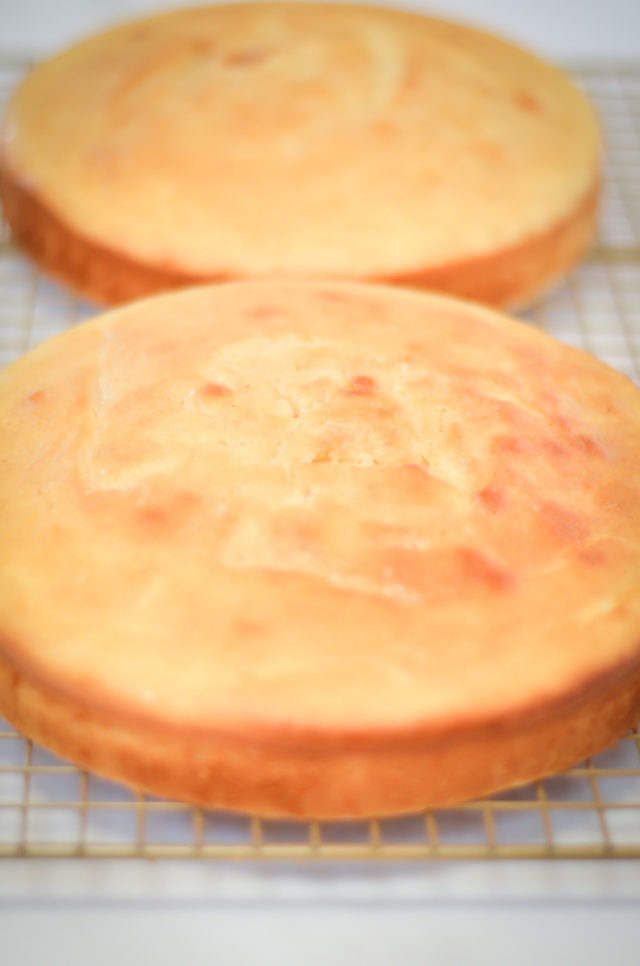
Once the cake layers are cooling, it’s time to make the frosting!
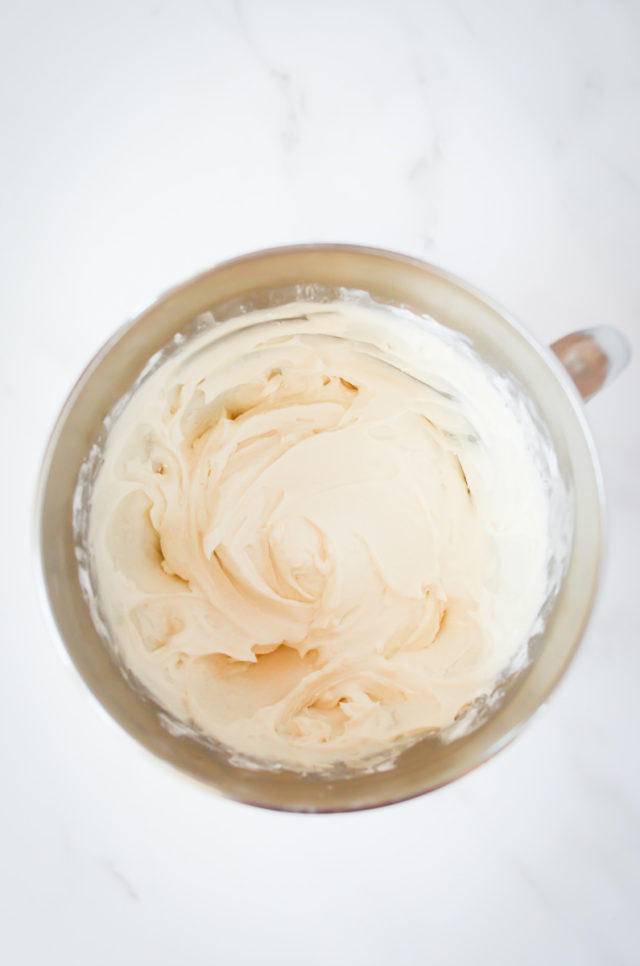
Simply mix together all of the frosting ingredients in a mixing bowl, being sure to sift the powdered sugar first so you don’t get any lumps.
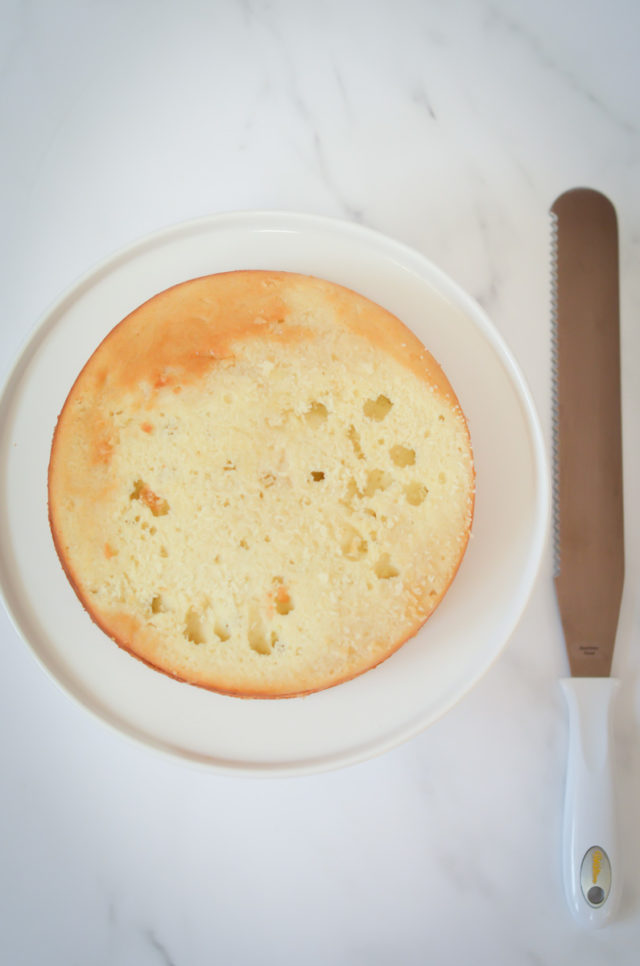
Next, you’ll want to even out the tops of your cake layers so they rest nicely on top of each other after frosting. I love my large serrated cake knife for this, but any serrated knife should work.
After you’ve finished evening out the layers, use a pastry brush to brush on the vanilla simple syrup.
Now you’re ready to frost your cake! First and foremost, be sure your cake is completely cool and your buttercream is at a nice, spreadable temperature before starting the frosting process. If the buttercream has gotten too soft, stick it in the refrigerator for 10 minutes to let it harden up a bit again.
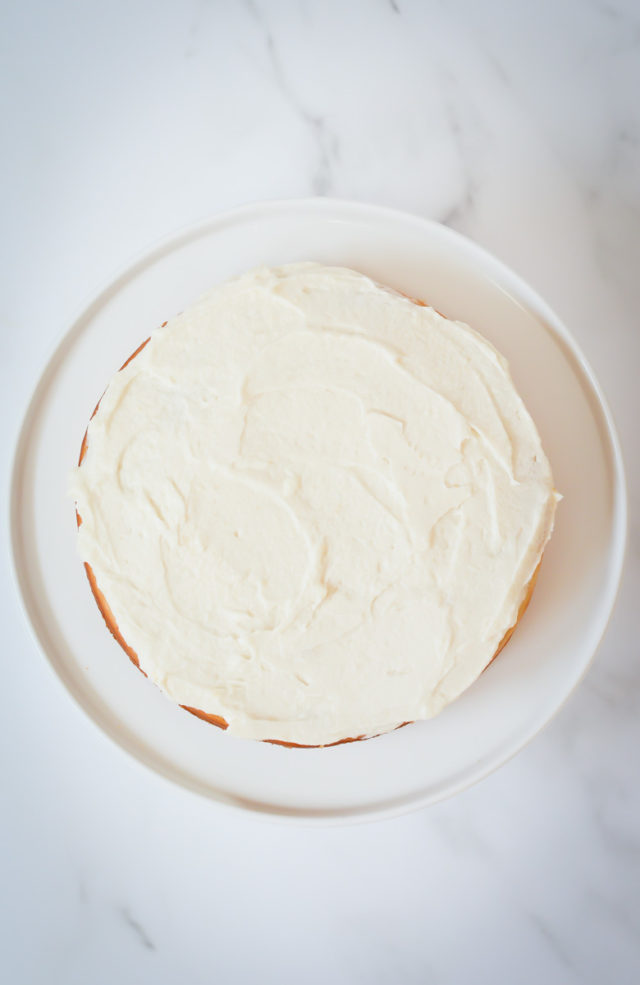
Once your cake layers and frosting are at ideal temperatures, start by frosting the top of the bottom layer…Be generous here!
Then place the second layer carefully on top…
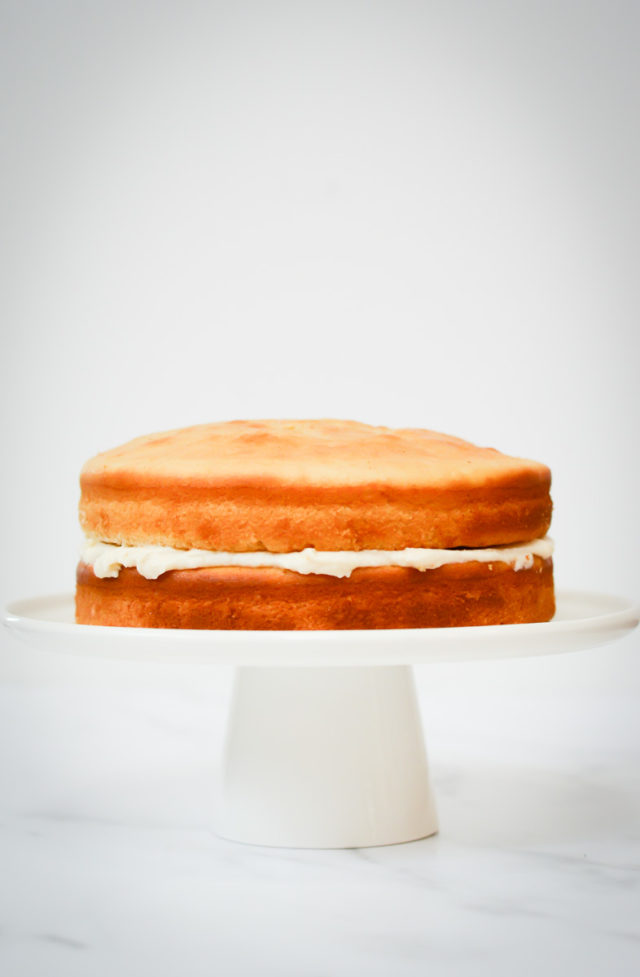
And frost the top of that before finally frosting the sides.
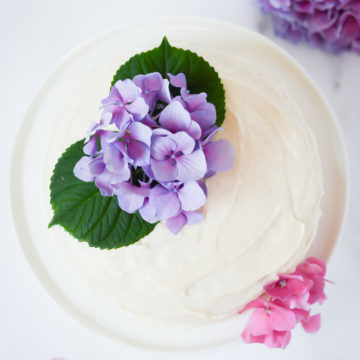
Finally, decorate the cake however you wish! I used some fresh flowers, but you could also use colored frosting, festive sprinkles or in-season fruit.
FAQs
If you’re willing to freeze the cake layers, you can make them up to a couple of months in advance. Simply follow the instructions up to the point of evening out the layers, wrap them individually in plastic wrap and freeze them in a resealable plastic bag.
If you don’t want to freeze the cake layers, I wouldn’t recommend making the cake more than one day in advance of serving it. Wrap unfrosted cake layers in plastic wrap until you’re ready to frost.
You can make the frosting 1-2 days in advance as well and store it in a covered container in the refrigerator. You will probably want to let it sit out a bit to soften slightly before moving forward with frosting your cake.
Finally, you can make and frost the cake entirely up to one day in advance of serving. Just be sure to keep the finished cake refrigerated due to the buttercream frosting.
No, but I highly recommend it for extra vanilla flavor and for keeping the cake extra-moist!
Sure! In keeping things simple, you could mix some citrus zest into the cake batter and/or the frosting. You could also add things like sliced strawberries or blackberry jam into the frosting filling between the two layers. Finally, add unique flavor to your cake by decorating it with a variety of fruits. Feel like getting creative? Mix and match frosting and cake flavors between some of my other cake recipes on this site, like Pistachio Cake with Dark Chocolate Buttercream or Carrot Cake with Coconut Pecan Frosting.
Once made, this vanilla cake is best consumed within 3-5 days. Be sure to keep it covered tightly and in the refrigerator for the longest shelf life.
More Ways to Use Vanilla in the Kitchen
While baking is certainly the most common way to use vanilla in the kitchen, there are many other uses for the barista, the mixologist and even the savory cook.
Wake up every morning with a tasty Mint Vanilla Cold Brew or a homemade Vanilla Bean Café Latte.
Cap off a long day with a Vanilla Bean Creamsicle or Sparkling Citrus Vanilla Punch cocktail.
Or even use it in your day-to-day cooking like these Lemon Vanilla Buckwheat Pancakes or these Vanilla Buttered Carrots.
Tried this recipe and loved it?? Be sure to leave a comment and five-star rating in the recipe card below!
The Simplest Vanilla Cake with Vanilla Buttercream
Ingredients
For the vanilla cake:
- 1 cup unsalted butter, room temperature
- 1 cup sugar
- 4 eggs, room temperature
- 1 tablespoon Sonoma Syrup Vanilla Bean Extract "Crush" (or high-quality vanilla extract)
- 2 cups cake flour
- 1 cup all-purpose flour
- 1 teaspoon salt
- 1 teaspoon baking powder
- 1/2 teaspoon baking soda
- 1 1/3 cups buttermilk
- 1/4 cup Sonoma Syrup Co. Vanilla Bean-Infused Simple Syrup
For the vanilla buttercream:
- 4 cups powdered sugar, sifted
- 1 cup unsalted butter, room temperature
- 4 tablespoons whole milk
- 1 tablespoon vanilla extract
- 1/4 teaspoon salt
Instructions
To make the cake:
- Preheat the oven to 350 degrees Fahrenheit. Spray two 8-inch cake pans with cooking spray and line the bottoms with parchment paper. Set aside.
- Using a stand mixer or hand mixer and large mixing bowl, cream the butter and sugar until light and fluffy. Beat in the eggs one at a time, then add the vanilla extract.
- In a separate bowl, whisk together the two flours, salt, baking powder and baking soda.
- In two batches, alternate adding the dry mixture and buttermilk into the creamed butter and sugar mixture. Start with half of the dry ingredients, add in half of the buttermilk, then repeat, mixing well after each addition and scraping down the sides with a spatula as needed.
- Divide the batter evenly among the two prepared cake pans, gently tapping the filled pans on the counter to get out any air bubbles.
- Bake the cakes in the preheated 350-degree oven for 28-30 minutes, or until a cake tester inserted into the center of each one comes out clean. Let cool for 10-15 minutes, then turn the cakes out of their pans onto a cooling rack – removing the parchment paper on the bottom – to cool completely.
- Once the cake layers are completely cool, use a serrated knife to level out the tops. This will help the layers sit nicely on one another without sliding after they're frosted.
To make the buttercream:
- Combine all buttercream ingredients in the bowl of a stand mixer or a medium mixing bowl and mix until a fluffy frosting forms. Make sure the buttercream is at a good "spreading" temperature before starting to frost. If it's too soft, put it in the refrigerator for about 10 minutes to stiffen up a bit again.
To frost the cake:
- Place the bottom layer of the cake on our desired serving platter. If it's tending to slide around, spread a small dab or two of frosting on the plate before placing the cake on it.
- Start by frosting the top of the first layer. Don't be skimpy here, we don't want to pull the top of the cake apart. Once you've done the frosting, this would be the time to add fresh fruit slices or jam if you want some extra flavor.
- Next, place the second layer carefully on top of the first, then frost the top of that. Again, be generous here, as you don't want a lot of crumbs showing through. Once you've frosted the top, frost the sides.
- Finally, decorate the cake however you'd like! I used fresh flowers, but you can also use sprinkles, food coloring, colored icing, or fresh fruit.
Notes
- You can make the cake layers and freeze them up to two months in advance, as long as they are wrapped in plastic wrap and stored in a resealable plastic bag.
- If you don’t want to freeze the cake, you can make both the cake and the frosting up to one day in advance. You can assemble the cake a day in advance as well if you wish. Just be sure to refrigerate any part that involves the vanilla buttercream.
- You can flavor the cake with citrus zest, fresh fruit slices or even chocolate chips.
- Decorate the cake however you wish. Some ideas include fresh flowers or greenery, food coloring in the frosting, colored icing, sprinkles or fresh fruit.
Leave a Reply