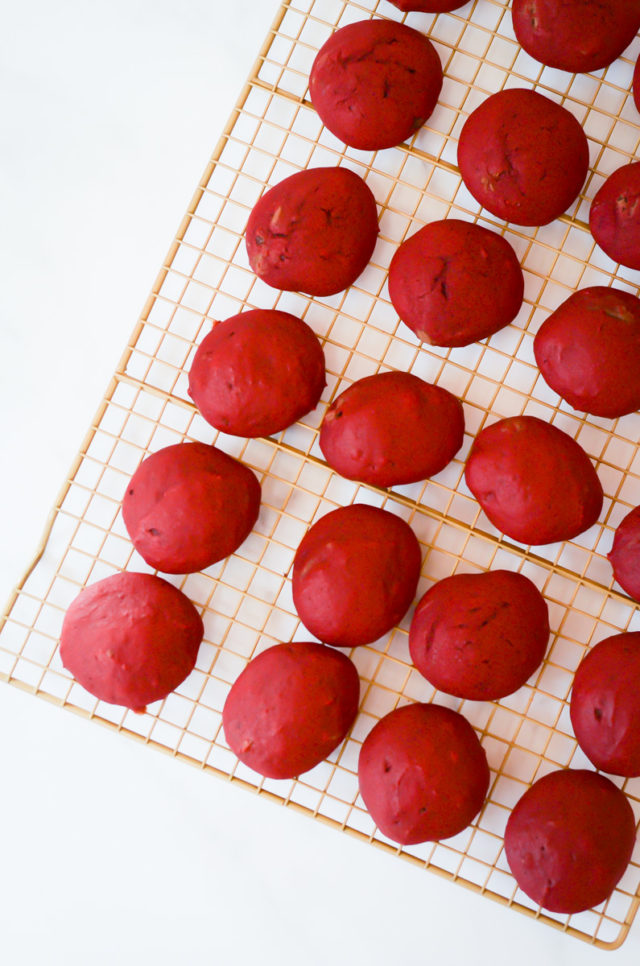
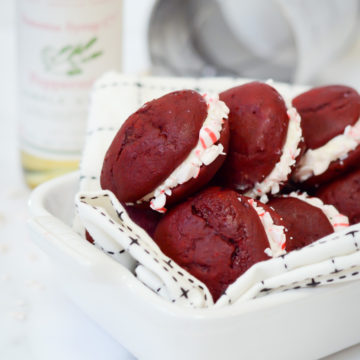
Soft and fluffy red velvet cookies sandwiched with a creamy peppermint filling are one of the best treats to make this holiday season – and they’re easier than ever!
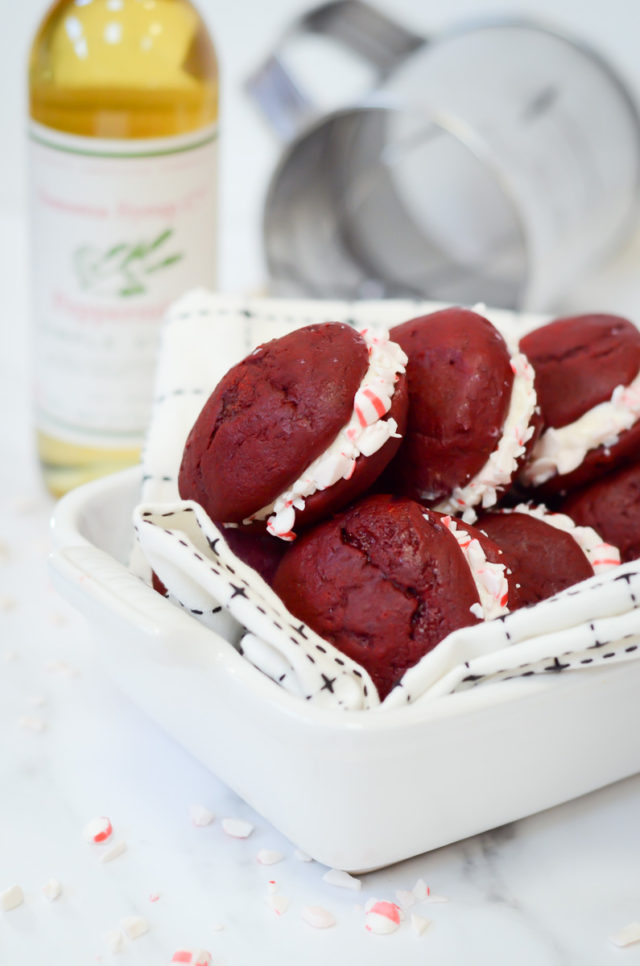
If you’ve yet to venture into the world of whoopie pies, now’s your chance! I’ve partnered with my friends at Sonoma Syrup Co. to come up with the easiest, tastiest Red Velvet Whoopie Pies with Peppermint Cream. Because chocolate and peppermint are already the perfect combination, and when you throw in red velvet’s signature vibrant color, there’s nothing more festive.
Why This Recipe Works
- The recipe can be made in stages, so if you’re a busy mama like me you don’t have to worry about having a big chunk of time set aside to get these made.
- Chocolate and peppermint – there’s no better flavor combo than that!
- It’s foolproof. You don’t need to be an expert baker to make this stunner of a dessert.
- These whoopie pies will be a huge hit with the kids!
Ingredients You’ll Need
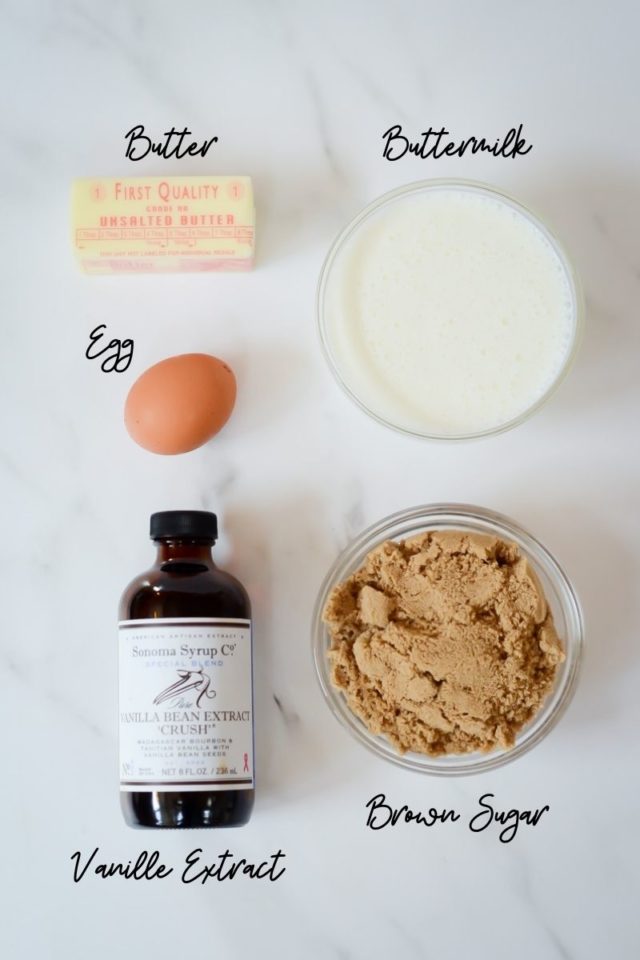
Butter – Be sure it’s at the perfect room temperature before using!
Brown sugar – This is the only sugar you’ll use in the cookie part. I recommend a light brown sugar, but you could use dark brown in a pinch.
Vanilla extract – Treat yourself to a bottle of Sonoma Syrup Co. Vanilla Bean Extract “Crush” to enjoy the ultimate vanilla flavor.
Buttermilk – This will help your whoopie pies get the perfect rise.
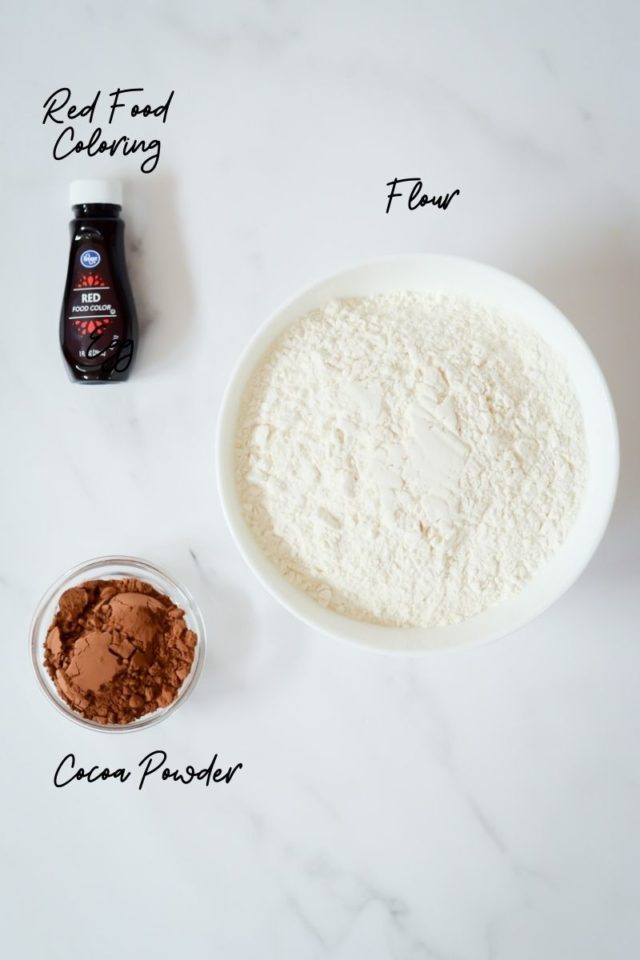
Cocoa powder – Treat yourself to a good Dutch-process unsweetened cocoa powder like this one here.
Red food coloring – Don’t be alarmed by how much food coloring the recipe calls for. You want the pies to be as vibrantly red as possible!
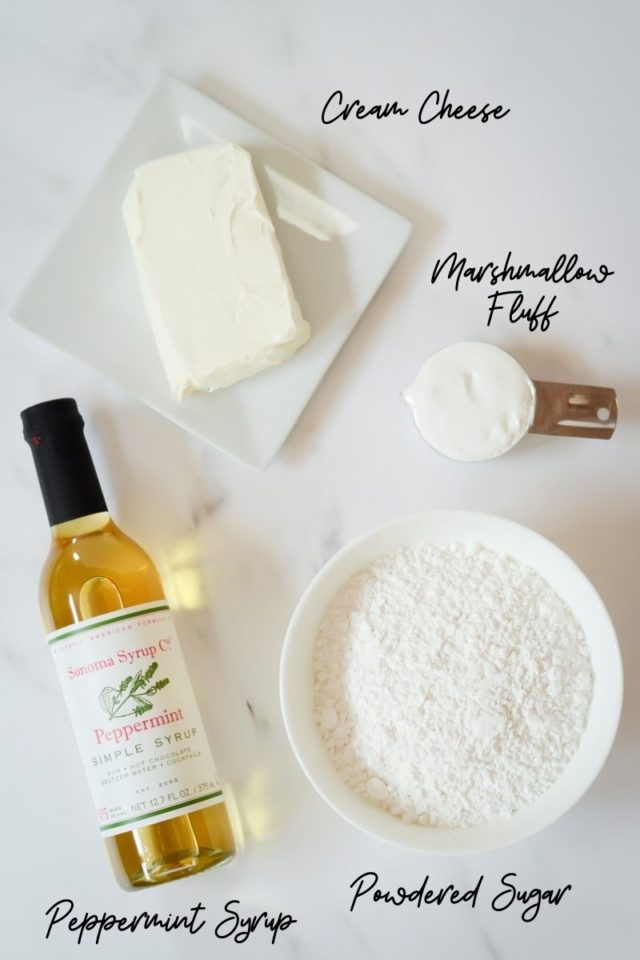
Cream cheese – Just like the butter, you’ll want to be sure your cream cheese is at room temperature to ensure easy mixing. Be sure to use block cream cheese as opposed to the cream cheese you buy in the tub.
Powdered sugar – Be sure to sift it before adding it to the mix so your filling doesn’t get lumpy.
Marshmallow fluff – This is what whoopie pie filling is typically made of (rather than cream cheese) so adding a bit lends the perfect amount of airiness.
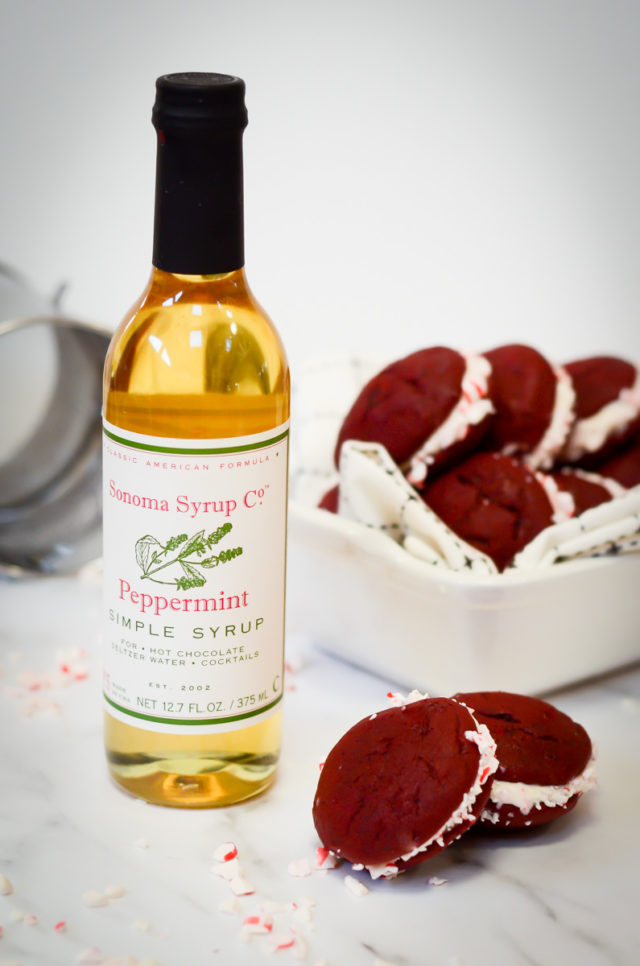
Sonoma Syrup Co. Peppermint Simple Syrup – This is where we really make the recipe festive. You can purchase the syrup here.
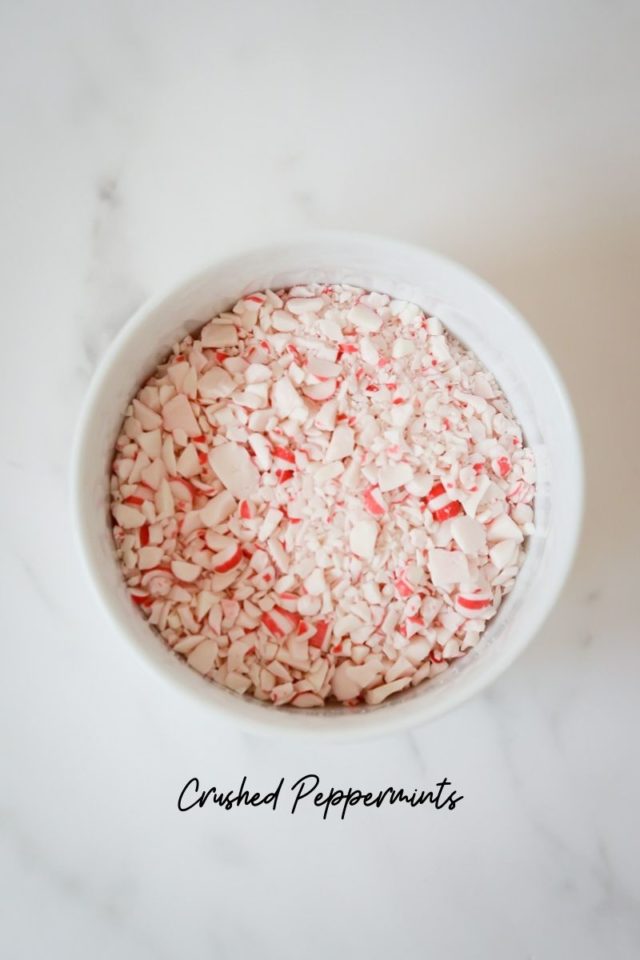
Crushed peppermints – You can either purchase peppermints pre-crushed or just buy a bag of peppermints or box of candy canes and crush them yourself.
Step-by-Step Instructions
If you don’t have time to complete all of the steps at once, just try to complete one phase of the recipe at a time (for example: make the cookies, make the filling and assemble all at different times.)
First, make the cookies. Cream together the butter and sugar, then adding the egg and vanilla.

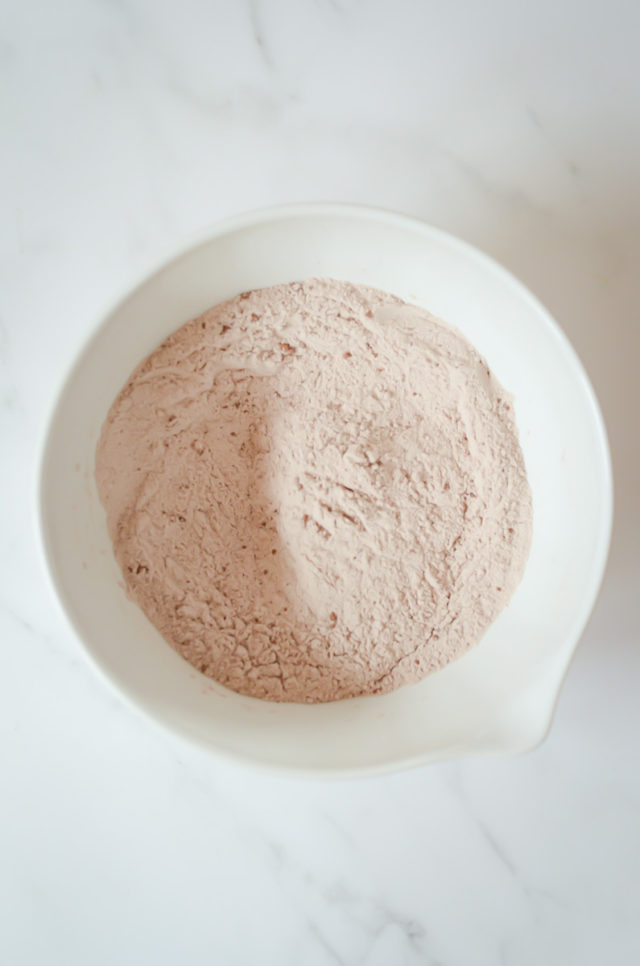
In a separate bowl, whisk together the flour, cocoa powder, baking soda and salt.
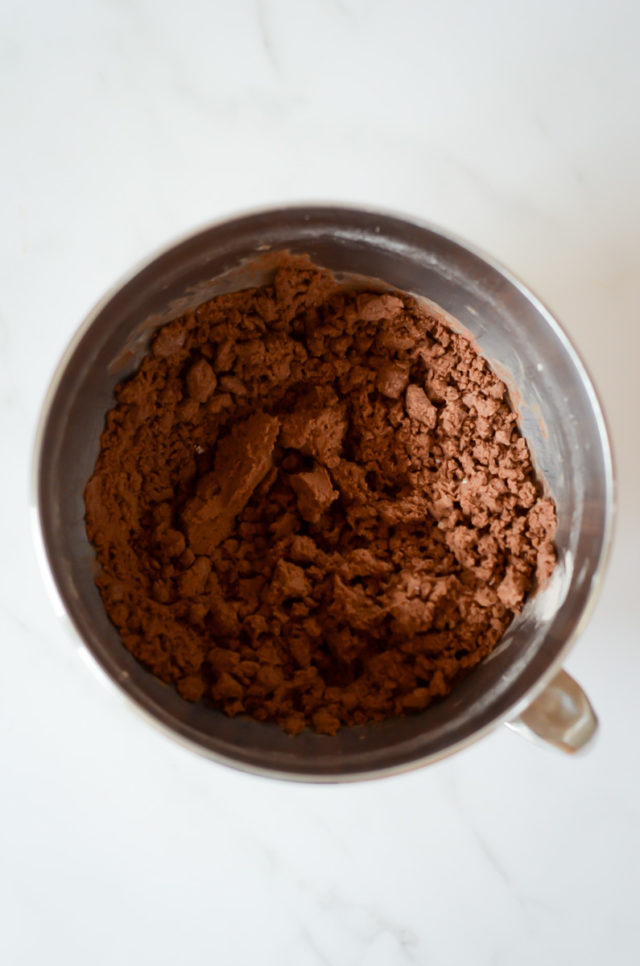
Add the dry ingredients to the butter mixture, which will be pretty crumbly and dry once you’re done.
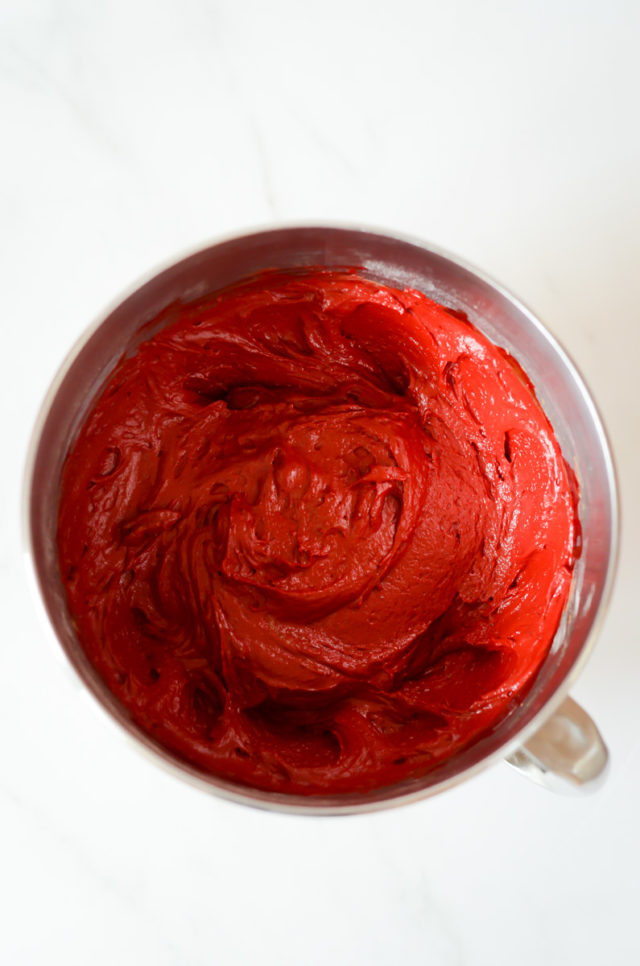
Finally, add the buttermilk and the red food coloring. At this point, the batter should no longer be dry and should have a much smoother consistency.
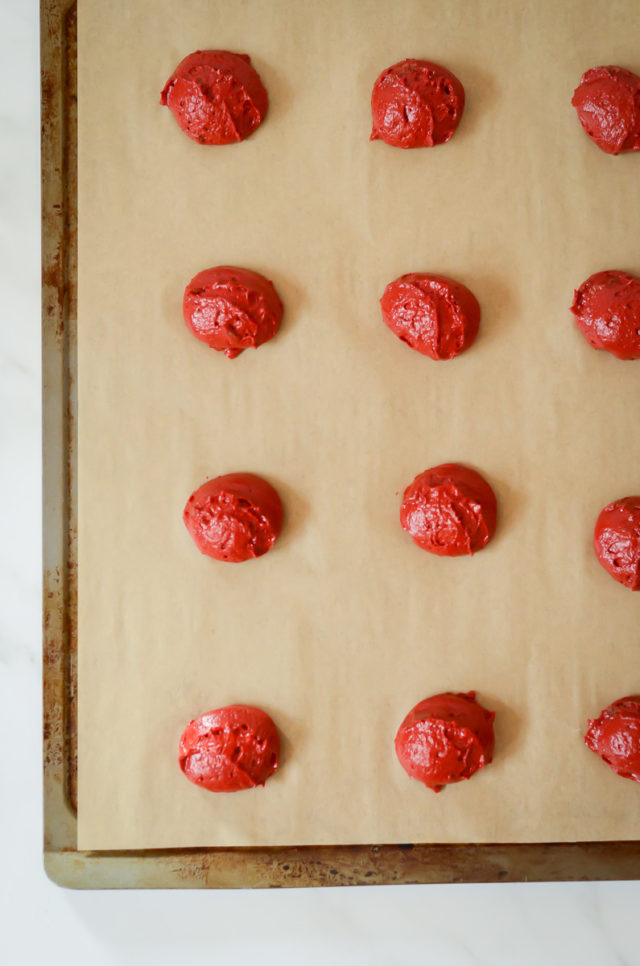
Using a tablespoon-sized cookie scoop, scoop the batter onto your prepared cookie sheets and bake in your preheated oven for 12 minutes, rotating the trays halfway through.
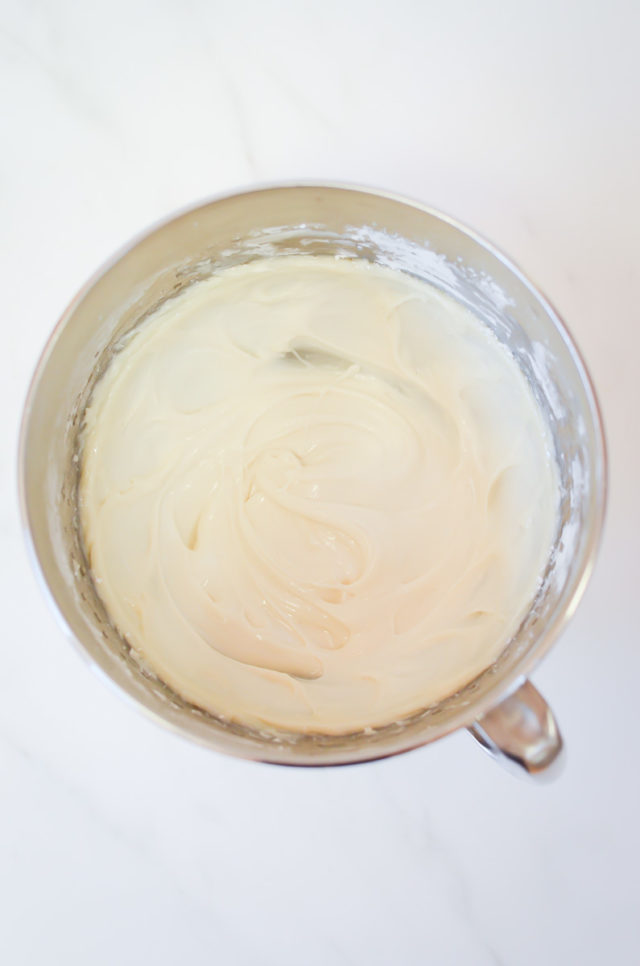
Now it’s time to make the filling. Combine all of the filling ingredients (minus the crushed peppermint) in a stand mixer, waiting until the end to add the peppermint syrup. You’ll save the crushed peppermints to roll the pies in at the end.
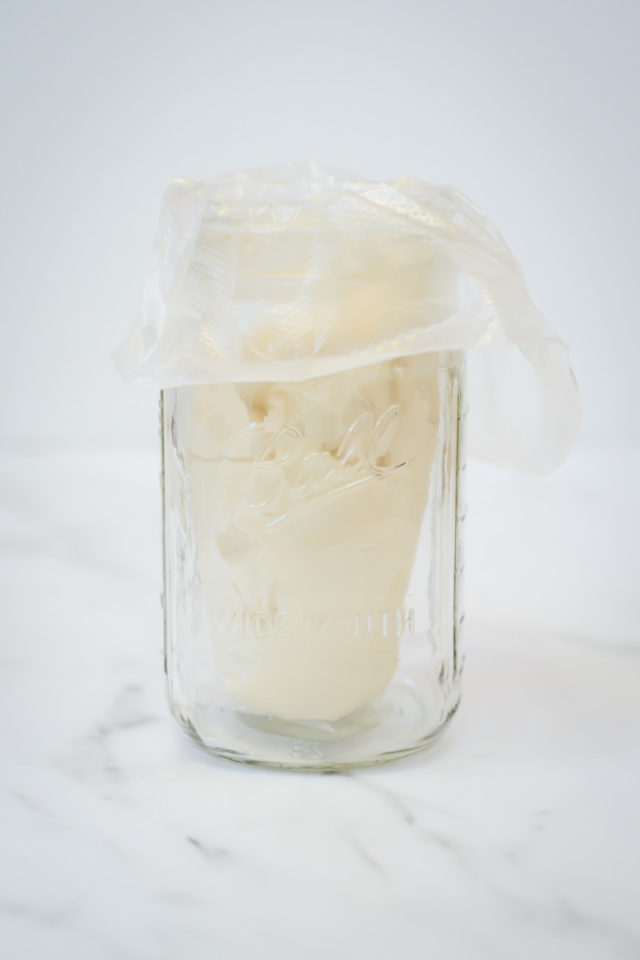
Once you’ve made the filling, spoon it into a piping bag, which you will use to fill the cookies. I like to put my piping bag in a Mason jar (as shown in the photo) to make it easier to fill.
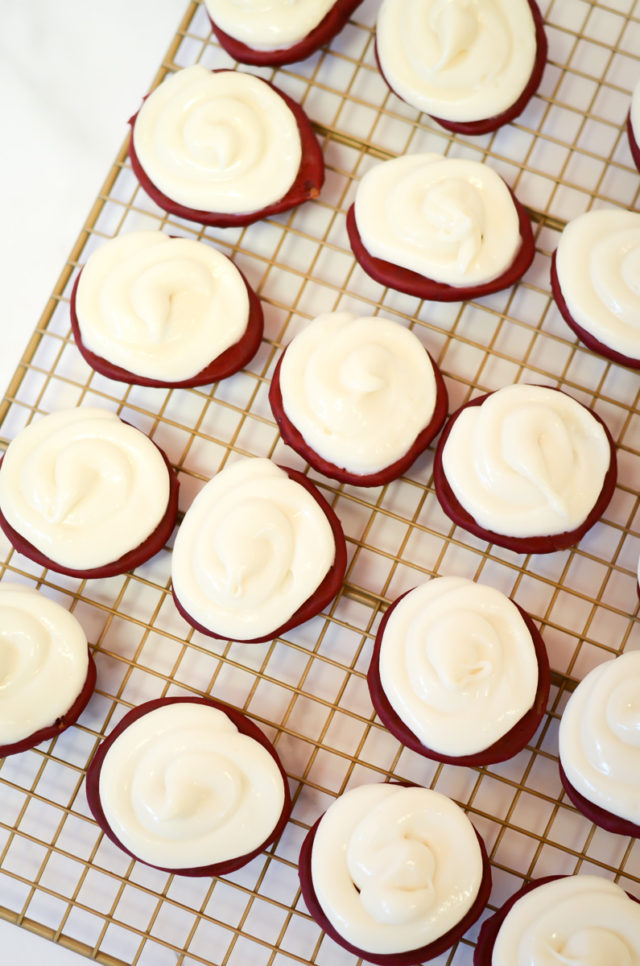
Make sure the cookies are completely cool before piping on the peppermint filling, then pipe enough filling on every other cookie to cover the bottom completely, erring on the generous side because you want enough filling to roll in the crushed peppermint.
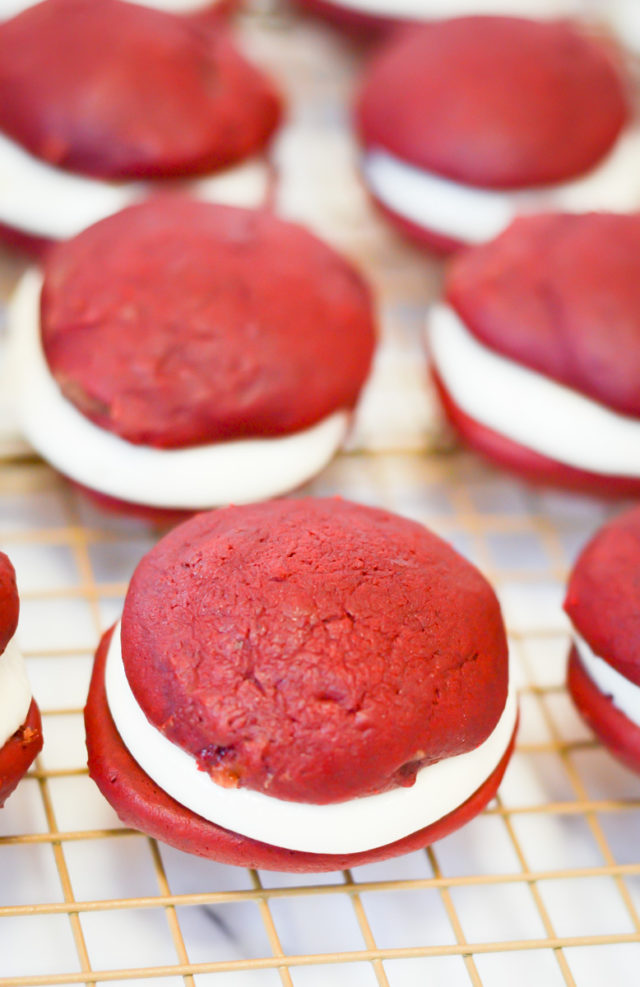
Assemble the red velvet whoopie pies by placing one bare cookie on top of one filled cookie. At this point, I recommend refrigerating the whoopie pies for 1-2 hours (or freezing them for a half hour) to get the filling firm enough to roll in the crushed peppermint.
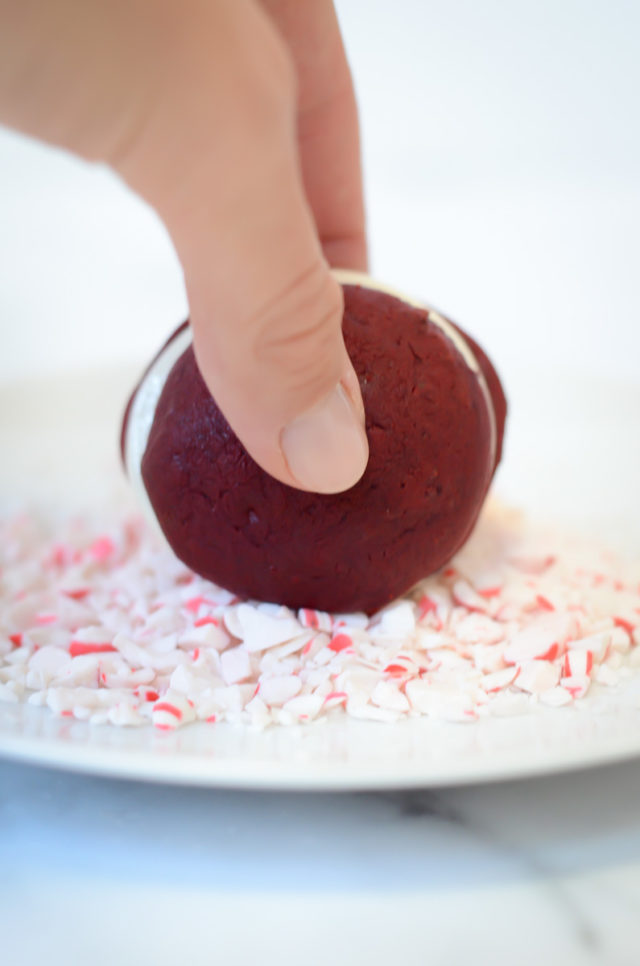
Once the peppermint cream has firmed up, remove the pies from the fridge and roll them in the crushed peppermint as shown.
Enjoy immediately or store in the refrigerator for up to a week!
FAQs
Because of the cream cheese filling, the pies are best stored in the refrigerator in an airtight container.
These whoopie pies are best if consumed within a week.
You can make both the red velvet cookies and the peppermint filling up to three days before assembling, although you don’t necessarily need to make them at the same time. Just be sure to store the filling in the refrigerator and store both the filling and the cookies in airtight containers.
Absolutely! Feel free to sub any other syrup from Sonoma Syrup Co. for the peppermint. Some other flavors I highly recommend are Vanilla Bean, Vanilla Hazelnut or Almond. You can also get creative with extracts for a bit stronger flavor, but you’ll only need 1-2 teaspoons of extract if you go this route.
More Holiday Treats
The BEST Dairy-Free Eggnog Recipe
Chocolate Dipped Cranberry Walnut Biscotti
Bourbon-Spiked Pumpkin Spice Latte
Chocolate Brie Dessert Pizza with Almond-Orange Shortbread Crust
Chocolate, Butterscotch and Coconut Grutch Bars
Homemade Caramel Covered Marshmallow Kisses
Zesty Orange Madeleines with Dark Chocolate Drizzle
The Most Addicting Peppermint Bark Brownies
Tried this recipe and loved it?? Be sure to leave a comment and five-star rating in the recipe card below!
Red Velvet Whoopie Pies with Peppermint Cream
Ingredients
For the cookies:
- 1/2 cup (1 stick) unsalted butter at room temperature
- 1 cup packed brown sugar
- 1 egg
- 2 teaspoons Sonoma Syrup Co. Vanilla Bean Extract "Crush"
- 2 1/4 cup all-purpose flour
- 1 teaspoon baking soda
- 1 teaspoon salt
- 3 tablespoons unsweetened cocoa powder
- 1 cup buttermilk
- 1 ounce red food coloring (1 small bottle)
For the peppermint cream:
- 8 ounces cream cheese at room temperature
- 2 cups powdered sugar sifted
- 1/4 cup marshmallow fluff
- 2 tablespoons Sonoma Syrup Co. Peppermint Syrup
Other:
- 5 ounces crushed peppermint candies
Instructions
To make the cookies:
- Preheat the oven to 350°F and line two cookie sheets with parchment paper. Set aside.
- In the bowl of a stand mixer, cream together the butter and sugar until light and fluffy, then mix in the egg and vanilla extract until combined.
- In a separate medium mixing bowl, whisk together the flour, baking soda, salt and cocoa powder.
- Add the dry ingredients to the butter mixture and mix to combine. The dough will look dry and crumbly at this point.
- Finally, add the buttermilk and red food coloring to this mixture. At this point, the batter should no longer be dry and should have a much smoother consistency.
- Using a tablespoon-sized cookie scoop, scoop the batter onto your prepared cookie sheets and bake in the preheated oven for 12 minutes (or until the cookies look set, not wet, but not brown), rotating the trays halfway through.
To make the peppermint cream:
- Combine the cream cheese and powdered sugar in the clean bowl of your stand mixer (you'll need to wash it after making your cookie dough) until smooth, then add in the marshmallow fluff and finally the peppermint syrup.
To assemble the whoopie pies:
- Spoon the filling into a piping bag and pipe approximately 1-2 tablespoons of the filling onto half of the cookies, making sure you're generous enough with it to cover the entire cookie and have enough to roll into the crushed peppermint later.
- Place the non-frosted cookies on top of the frosted ones and place in the refrigerator for 1-2 hours, or in the freezer for 30 minutes.
- Remove the whoopie pies from the refrigerator or freezer. Pour the crushed peppermint pieces onto a plate and roll each pie in them.
- Store pies in the refrigerator until ready to serve, up to one week.
Notes
- If you don’t have a big chunk of time, you can make the cookies and filling separately and assemble them at another time altogether.
- Use a Mason jar to hold up your pastry bag as you fill it with the peppermint cream.
- Feel free to mix up the flavors by substituting another type of simple syrup, or by using an extract instead of syrup. If you use an extract, you will only need 1-2 teaspoons of it.
- These whoopie pies can be stored in the refrigerator for up to one week.
- You can purchase all of the Sonoma Syrup Co. products I included in this recipe here.
Leave a Reply